Showing posts with label Array. Show all posts

Tuesday, August 30, 2022

Power Automate: Use of TAKE & SKIP Function

Hello Friends,

Welcome back with another post on Power Automate. Today, we will discuss about 2 amazing functions provided by Power Automate. These are "TAKE" and "SKIP".

The purpose of "TAKE" function is to pick the first n values from the provided array / string.

The purpose of "SKIP" function is to skip the first n values from the provided array / string.

These 2 are amazingly useful when working with arrays. Let's see-

  1. I am having a bulk array of Item IDs and I have to process this array in chunks. Here, these 2 functions show their expertise. These works helps when sending bulk IDs from PowerApps to Power Automate for processing
  2. Open the Power Automate Portal. Click on "+ Create", select "Instant cloud flow".
  3. Give you flow a suitable name. and select the appropriate trigger condition. For demo purpose, I am selecting "Manually trigger a flow".
  4. Initialize a variable "strItemIDs" of type String. It will hold the comma separate IDs.
  5. Now, I will initialize 4 more variables-
    1. arrItemIDs - It will hold the ItemIDs in array format using split function over strItemIDs.
    2. intTotalIDsCount - It will hold the total number of IDs present in arrItemIDs using length function.
    3. intBatchSize - It is a number which represents the number of items we will extract from the arrItemIDs
    4. arrItemsBatch - it will hold the IDs extracted from arrItemIDs in one batch. The logic for this will be discussed later in this post.
  6. We will add one more variable named "intSkipCount" and set it to 0.
  7. Now, we will add an action called Do-until. It will continue to execute until the intSkipCount becomes equal to or greater than intTotalIDsCount.
  8. During each iteration, it will fetch the desired records set and assign it to arrItemsBatch. Then increment the intSkipCount with intBatchSize.
  9. Below are the series of screenshots-
  10. Here the expression used is-
    1. take(skip(variables('arrItemIDs'),variables('intSkipCount')),variables('intBatchSize'))
      
  11. This is what the magic of Take & Skip functions is. the Skip function is skipping the first "n" number of records / characters (depends upon, what you are passing to it- array / string) and returning the remaining array/string. Then Take function is using that result and extracting the "m" number of records / characters and giving us as an output.
  12. Initially, intSkipCount was set to 0, so we received first 50 items. Now see the next screenshot.
  13. After getting the first set of items, we are incrementing the intSkipCount with BatchSize (which is 50 in our case).
  14. Now the loop will trigger again. This time, the Skip function will skip first 50 items so the result of skip function will be items starting for 51 to 290. This will be used as input by Take function and it will give first 50 items, means 51 -100.
  15. The loop will continue to trigger until inSkipCount becomes equal to or greater than intTotalIDsCount.
  16. The most important point here is that the last batch will be having only 40 items (251 - 290). However, the Take function was written to extract the 50 items. Ideally it should throw error (like in Substring function). But NO, it is smart enough to handle this situation and returning us the items whatever left there.
  17. This is the Take & Skip function works. Belos are the screenshots of execution.
  18. Below is the outcome of all batches.
  19. This is how, we can leverage the features of Take & Skip functions in Power Automate.
With this, I am concluding this post.
Happy Coding !!!
Will see you again with some new topics.

Stay Safe !
Stay Healthy !

Friday, May 13, 2022

Power Automate: Get Azure Active Directory Group Users

Hello Friends.

Welcome back with another post on Power Automate. Today, we will learn about How to get users from Azure Active Directory Group through Power Automate. Sometimes, there are the requirements that we need to send mails to some users that belongs to a particular AD group. Therefore, our approach will first to get all the users from that AD group and then perform activity (like sending email) as per the application requirement. Let's start.

  1. Create a blank "Instant cloud flow" with trigger as "Manually trigger a flow". Give it a name - ExtractADGroupUsers.
  2. Now, we need the ID of that AD Group for which, users need to extract. You may ask this ID either from the AD Admin or you can add that group in your SharePoint site and then click on that group, it's account filed will give you the ID of that group. The GUID after the "tenant|" is the ID of the group.
  3. Now, go back to the flow and add an action "List group members" under "Office 365 Groups" category.
  4. It will ask the Group ID. Input the ID we had copied from SharePoint discussed above.
  5. Save it and Test it.
  6. It will give us a JSON of all the users belong to this group. The attribute, which is important for us is "mail" and then "displayname". The primary is "mail".
  7. Now, edit the flow again and initialize an array, in which you need to store the Email IDs.
  8. Now, we need to use an "Apply to each" action to capture the EmailIDs and store in array. During this process, we will also check that EMail ID must not be null.
  9. That's all.
  10. If you wish to see, what all email ids have been captured, you may initialize another array and assign it with arrayGroupUserEMails array.
  11. Now Test the flow.
  12. As you can see from above screenshots, the flow ran successfully and we have extracted users belongs to the group.
  13. This is the shortest and straight way to perform the activity.
  14. However, there can be other ways as well to perform the same activity like-
  15. First- use the Select action to get the Emails only
  16. Then use "Apply to each" action to add emails in array.
  17. Second- use the "Filter" action to filter out null emails items.
  18. Then use "Apply to each" action to add emails in array.
  19. However, the results would remain same in all the cases.
With this, I am concluding this post.
Happy Coding !!!
Will see you again with some new topics.
Stay Safe !
Stay Healthy !

Power Automate: Sort An Array

Hello Friends.

Welcome back with another post on Power Automate. Have you ever tried to sort an array in Power Automate. Yes, Sorting. You surprised because, there is no direct function or action provided in Power Automate to sort an array. Well, today, we will look for  work around for the same.

Here, we will use an array of emails and will try to sort alphabetically. Let's start.

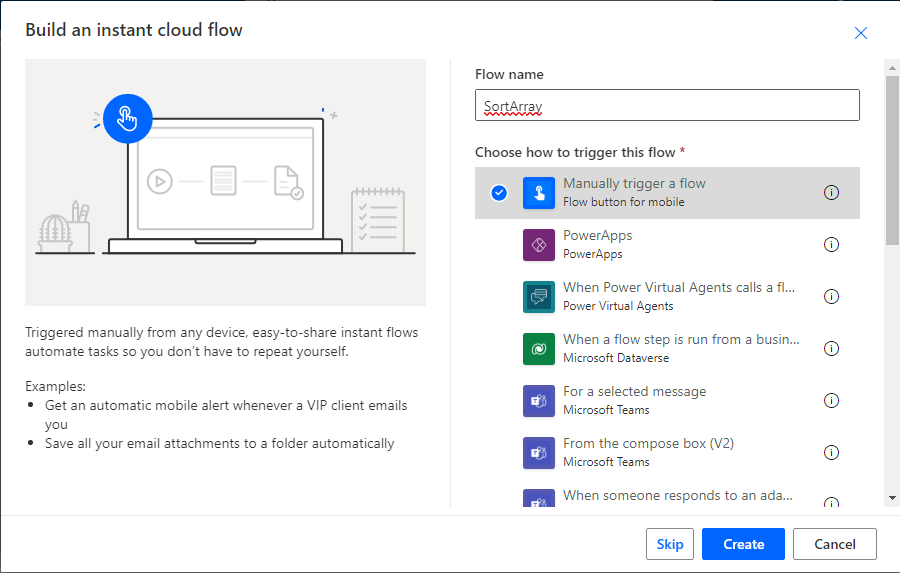
  1. I am using an Instant cloud flow with trigger as "Manually trigger a flow".
  2. Define an array "arrayUnsortedEmails".
  3. Now, we need 4 variables-
    1. arrayFilteredEmails- It will be used to hold the filtered emails every time our loop completes one round .
    2. arraySortedEmails- It will be used to hold the final sorted array of emails and will be assigned at the end of flow.
    3. strSmallestEmail- It will be used to hold an email id which will be compared with the emails residing in arrayFilteredEmails and if any email is smaller than this value then the variable will update it's value with the new one.
    4. intRowsCount- It will be used to hold the total number of emails captured in arrayUnsortedEmails array.
    5. intRowIndex- it is a counter variable which will be used for loop execution.
  4. Let's continue and initialize all the above variables.
  5. Now, we will use a Do-until loop where, we will-
    1. Extract the first email from arrayFilteredEmails.
    2. Apply a loop on arrayFilterEmails and check if any other email is smaller (alphabetically sort) than the first email. If Yes, then update the strSmallestEmail with the new email and continue the verification.
    3. Once Apply to each loop ends, add the value of strSmallestEmail into arraySortedEmails.
    4. Filter the arrayFilteredEmails and exclude this smallest email.
    5. Assign the output to arrayFilteredEmail.
    6. Increment the intRowIndex with 1.
    7. The Do-until loop continues the same process again and again till index reaches to the count.
    8. Once the Do-until execution completes, we will get the sorted array.
  6. Now, if you wish to see the output, you may assign the output to a new array variable.
  7. Let's define an array named "arrayFinalOutput" and assign it the value of arraySortedEmails.
  8. All done. Save the flow and test it.
  9. I will show you the initial array and the final array.
  10. Initial Array-
  11. Final Array-
  12. Let me show you the data in notepad-
  13. This way you can implement sorting upon arrays in Power Automate.
With this, I am concluding this post.
Happy Coding !!!
Will see you again with some new topics.
Stay Safe !
Stay Healthy !