Hello Friends,
Welcome back with another post on PowerApps. As we have nowadays, lots of delivery person ask to sign on their mobile app during delivery of product. Have you ever thought that how it could get done and will it be possible in PowerApps?
Yes, it is possible in PowerApps and is quite simple. Let's see-
- For this, we will develop-
- PowerApps: Here, we will use PenInput control to allow user to draw his/her signature.
- Power Automate: This flow will be used to pick data from PowerApps and save in SharePoint library.
- Open the SharePoint site and click on App launcher icon (9 dots at top left corner). Here you will find the PowerApps site link. Click on it.
- It will open the PowerApps maker site. Here click on "+ Create" or "+ New App" and select Canvas app.
- Now click on Insert >> Input >> Pen input.

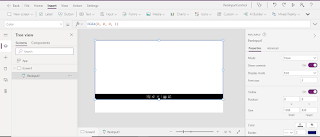
- Now add button and set display text as "Submit".
- Now whatever, we will draw on this Pen Input Canvas, we will save it in a variable. But before saving, we will extract the actual content of file because, the content itself in the form of base64 with prefix and suffix added to it. The same kind of extraction we have done in one of our earlier post.
- We will use below function for OnSelect property of button.
UpdateContext(
    {
        vrPenInputData: JSON(
            PenInput1.Image,
            JSONFormat.IncludeBinaryData
        )
    }
);
UpdateContext(
    {
        vrBase64Value: Mid(
            vrPenInputData,
            Find(
                ",",
                vrPenInputData
            ) + 1,
            Len(
                Mid(
                    vrPenInputData,
                    Find(
                        ",",
                        vrPenInputData
                    ) + 1
                )
            ) - 1
        )
    }
);

- Here we have partially completed the first part. The remaining part of the first part is to send this data to Power Automate to save in SharePoint Library.
- Therefore, first we have to create a Power Automate.
- For this, there are 2 options-
- Click on Action >> Power Automate >> + Create a new flow.

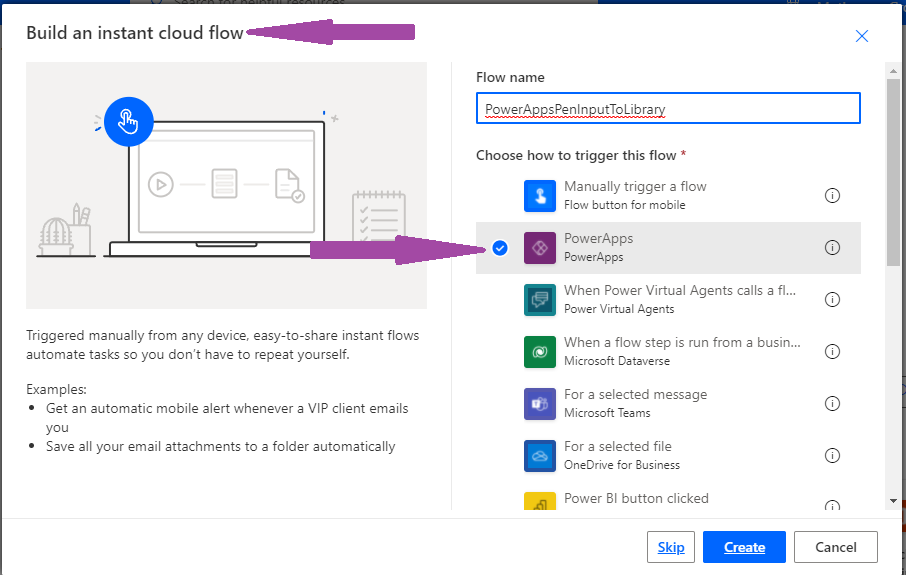
- Open the Power Automate site from the App Launcher >> Power Automate. Here you may click on + Create to create flow. Select the Instant Cloud Flow and then choose PowerApps.

- Now click on + New action and add an action names "Create file (SharePoint)".

- Select the Site address, folder name.
- Set File name as utcNow() with added extension of file as ".jpg".
- For file content, click on Ask In PowerApps from Dynamic Content window. It will create a dynamic variable that will be used to ask the file content from PowerApps.
- Save the flow. Now remove the file content variable from input box and click on Expression box. Use base64tobinary() function and pass this variable to this function and click on OK.

- Save the flow and come back to PowerApps.
- Now, first of copy the code of OnSelect property of button to a notepad. Then click on Action >> Power Automate. It will load all the PowerApps related flows. You will find the recently created flow here. Click on it to get added in OnSelect property.
 a
a- The moment it will be added in OnSelect property, the rest code will get wiped. That's why, we have copied that code in notepad. Now copy the code from notepad and paste it back before the recently added PowerAutomate Code.

- Now, pass the variable vrBase64Value to this flow.

- That's all. Now save the PowerApps and play it.


- This way, we can achieve this functionality.


With this, I am concluding this post.
Happy Coding !!!
Will see you again with some new topics.
Stay Safe !
Stay Healthy !
No comments:
Post a Comment
Note: Only a member of this blog may post a comment.