Hello Friends,
Welcome again with my new post on PowerApps. In real life development, sometimes we had a scenario when there is a list which is having huge number of fields (e.g. Application Form) and these cannot be fit on one screen. In such cases, we have to create an app which is having multiple screens. Let's see, how it can be achieved in PowerApps.
- First, we create a list (Name:- MultiScreenPowerAppList) with following fields-
- First Name
- Last Name
- Place of Birth
- IT Experience
- Form Status
- All columns are "Single line of text". "Form Status" is an optional column means we are just using this column to maintain the status of record so that we can apply filter to get only completed records.
- Now, edit the "Title" field and set "Required" as "No".

- The list will be finally appear as below-

- Now open the PowerApps Portal by Clicking Here or click on the link "https://create.powerapps.com/".
- It will ask to Login (Authenticate). Once you provide the valid credentials, it will take you to PowerApps home page.


- Now we will start from creating a "Blank App" using "Phone layout" as marked in above screenshot. it will show you a popup. Just click on "Skip" as we will do from scratch.

- A blank screen canvas will be created by PowerApps by default.

- Now we have to remove the Screen1. Before this, we have to add another screen.
- Click on "Home" >> "New Screen" >> "Scrollable". It will add a new screen "Screen2".

- Now delete the first screen "Screen1". For this, click on Ellipses (3 dots) displaying ahead to Screen1 then click on Delete. Now only "Screen2" will remain in system.

- Now rename the screen "Screen2". For this, click on Ellipses (3 dots) displaying ahead to Screen2 then click on Rename. Name it "WelcomeScreen". Now remove "Canvas1", "LblAppName1", "RectQuickActionBar1" with same process.
- Add image control by clicking on "Insert" >> "Media" >> "Image".

- Rename the image name to "imgWelcome". In properties section-
- Add any Welcome image
- Set Image position as Fill


- Image Used here is-

- AFTER-

- Add button
- Rename it "btnLogin"
- Text as "Login To Add Details >>"
- Change background color of button

- Now we have to update its "OnSelect" command . We can this step later on also.
Set(varFormMode,"new"); ResetForm(frmName); Navigate(NameScreen,ScreenTransition.None)
- It will show some error because we had used next screen and its form name. Well no problem, let's create them.
- Add more Scrollable screens and rename them as below-
- NameScreen
- BirthPlaceScreen
- ITExperienceScreen
- SubmitScreen
- Remove the Canvas control from all these screens. Click on each of these screens one by one and then "Insert" >> "Forms" >> "Edit" to add Editable Form. Rename them respectively
- frmName
- frmBirthPlace
- frmITExperience
- frmSubmit
- Rename all labels starting with "LblAppName" as
- lblScreenTitleNameScreen
- lblScreenTitleBirthPlaceScreen
- lblScreenTitleITExperienceScreen
- lblScreenTitleSubmitScreen
- Edit the Text content as "Multi Screen PowerApps Demo".
- Now connect the DataSource on each form-

- Click on "Data Source" >> "None" >> "Connectors" >> "SharePoint". Select the SharePoint connection / Add a connection as per the scenario. Now select the SharePoint Site from the available sites shown there. Once selected, it will populate the lists. Click on the list we had created in starting "MultiScreenPowerAppList".

- It will create input cards for each field. Now delete all input cards except as below on each form-
- frmName
- First Name
- Last Name
- frmBirthPlace
- Place of Birth
- frmITExperience
- IT Experience
- frmSubmit
- Delete all input field cards
- Basically, we are spreading out list on all these screens by putting one or two fields on each screen.
- Now we will add a navigation icon on below screens-
- frmName
- frmBirthPlace
- frmITExperience
- For this we click on "Insert" >> "Icons" >> "Right" icon.

- Adjust its Position & Size as shown in above screen and rename as-
- IconNameScreen
- IconBirthPlaceScreen
- IconITExperienceScreen
- With this, we had completed the design of below screens-
- WelcomeScreen
- NameScreen
- BirthPLaceScreen
- ITExperienceScreen
- The last screen "SubmitScreen" will be designed later on. Before that we will add the functionality of icons and buttons.
- Click on "WelcomeScreen" >> "btnLogin". Select the "OnSelect" command from left dropdown and set it's formula as
Set(varFormMode,"new"); ResetForm(frmName); Navigate(NameScreen,ScreenTransition.None)
- 😉 This time it will not give any error as we had created all screens and forms.

- Now click on "NameScreen" >> "frmName". Select the "DefaultMode" command from left dropdown and set it's formula as-
If(varFormMode="edit",FormMode.Edit,varFormMode="view",FormMode.View,FormMode.New)
- Select "Item" command and set it's formula as-
varRecord
- Select "OnSuccess" command and set it's formula as-
Set(varRecord,frmName.LastSubmit); Navigate(BirthPlaceScreen,ScreenTransition.None);
- Now click on "IconNameScreen" icon and select "OnSelect" command from left dropdown. Set it's formula as-
If(varFormMode="view",Navigate(BirthPlaceScreen,ScreenTransition.None),SubmitForm(frmName))

- Similar activity will be performed for BirthPlaceScreen and ITExperienceScreen. Find below the code-
- BirthPlaceScreen-
- frmBirthPlace
- DefaultMode >> If(varFormMode="view",FormMode.View,FormMode.Edit)
- Item >> LookUp(MultiScreenPowerAppList,ID=varRecord.ID)
- OnSuccess >> Navigate(ITExperienceScreen,ScreenTransition.None)
- IconNextBirthPlaceScreen
- OnSelect >> If(varFormMode="view",Navigate(ITExperienceScreen,ScreenTransition.None),SubmitForm(frmBirthPlace))
- ITExperienceScreen-
- frmITExperience
- DefaultMode >> If(varFormMode="view",FormMode.View,FormMode.Edit)
- Item >> LookUp(MultiScreenPowerAppList,ID=varRecord.ID)
- OnSuccess >> Navigate(SubmitScreen,ScreenTransition.None)
- IconITExperienceScreen
- OnSelect >> If(varFormMode="view",Navigate(SubmitScreen,ScreenTransition.None),SubmitForm(frmITExperience))
- Now the last screen "SubmitScreen". Add a button on it rename it "btnSubmit" and Text as "Submit".

- Update the formula for it's "OnSelect" command as
Set(varSubmitMode,"submit");SubmitForm(frmSubmit)
- Now update the below command of frmSubmit-
- DefaultMode >> If(varFormMode="view",FormMode.View,FormMode.Edit)
- Item >> LookUp(MultiScreenPowerAppList,ID=varRecord.ID)
- OnSuccess >>
If(
     varSubmitMode = "submit",

Patch(
         MultiScreenPowerAppList,
         frmSubmit.LastSubmit,
         {'Form Status': "Submitted",Title:Concatenate(varRecord.'Last Name', ", ", varRecord.'First Name')}
     ));
Notify("Record Updated Successfully");
Navigate(WelcomeScreen,ScreenTransition.None)
- Save the App and Publish it.
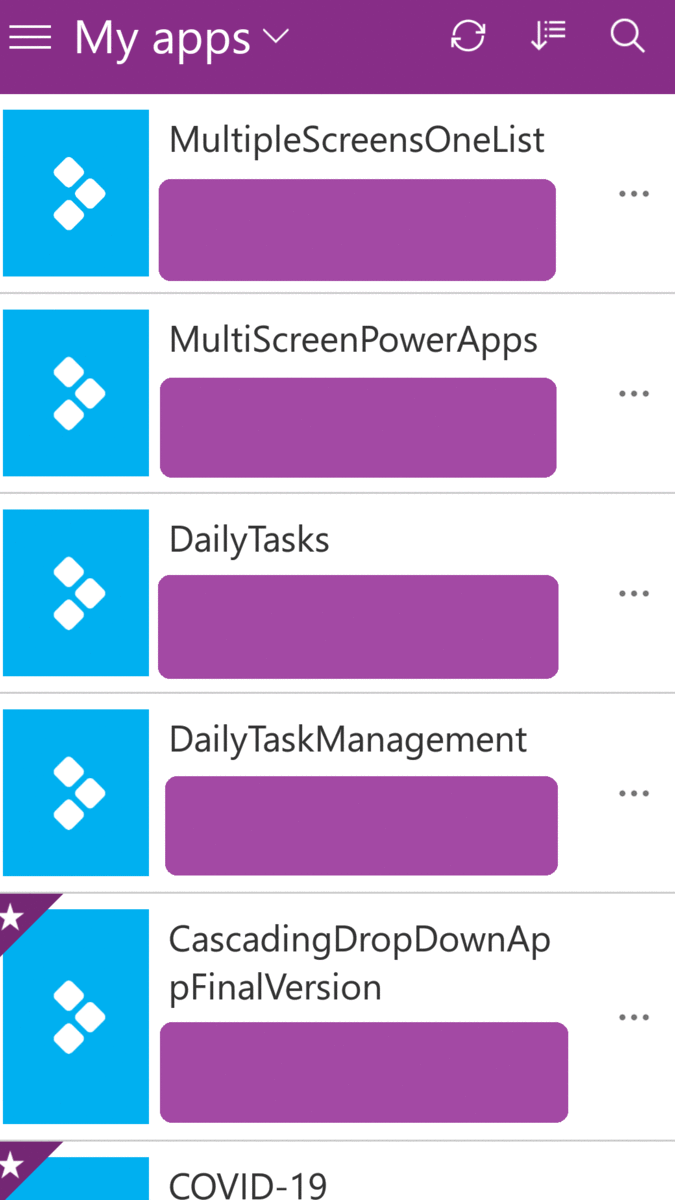
- Now open the app in PowerApps / Run from Preview option (arrow mark at top right side). I am providing here screen shot of mobile PowerApps app.


Lastly, we will check our SharePoint list, whether the record is inserted or not.

This way, we can create Multi Screen PowerApps for a single list which is having huge number of fields.
Happy Coding...
Will see you again with some new topics.
References:-
No comments:
Post a Comment
Note: Only a member of this blog may post a comment.